🌟 Jigging Reels for Newbies: Master Brake, Line Cup & Casting in 3 Steps
Ready to dive into the exciting world of jigging reels? As a beginner, nailing the basics of slow pitch reels, baitcasting jigs, and saltwater jigging reels can feel overwhelming, but trust us—mastering three core skills will transform your fishing game. Let’s break down how to choose the right reel, set it up like a pro, and cast with confidence, no experience needed!
⚙️ Step 1: Decode Your Reel’s Anatomy (Before You Even Start Fishing!)
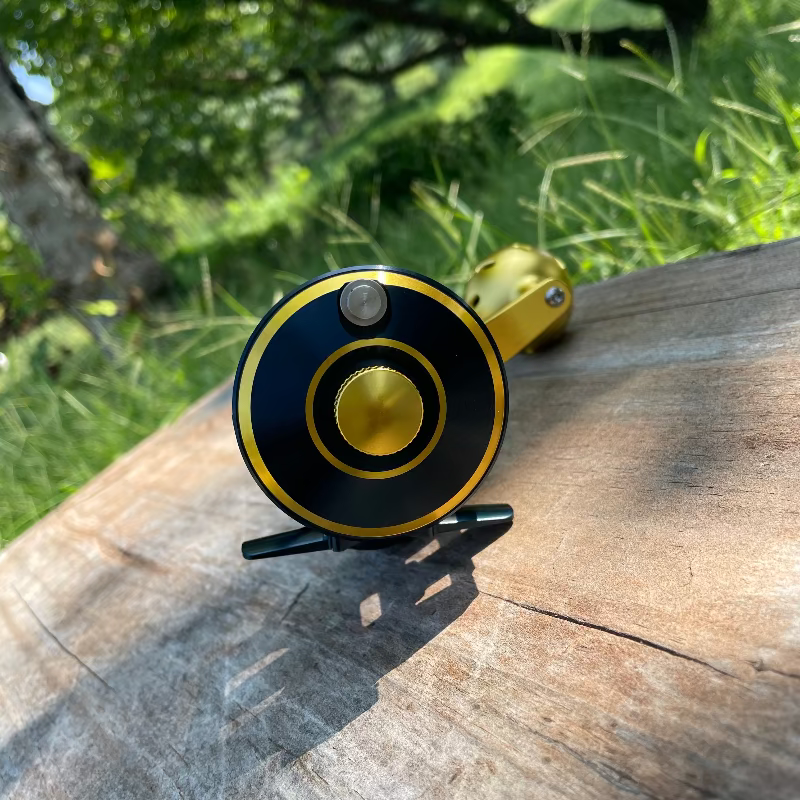
First, let’s talk reel parts that’ll make or break your setup. If you’re eyeing slow pitch reels for finesse fishing or saltwater jigging reels for offshore adventures, understanding these key components is non-negotiable:
-
Brake System: Counteracts the reel’s spool spin to prevent backlash. Saltwater models often have magnetic/centrifugal hybrid brakes for better control in heavy currents.
-
Line Cup: Holds your line during casts and retrieves—look for shallow cups in baitcasting jigs setups to reduce line friction.
-
Gear Ratio: A 6.2:1 ratio balances speed and power for beginners; higher ratios (7:1+) suit aggressive jigging.
💡 Pro Tip: Test your reel’s drag by pinching the line—smooth, consistent tension means fewer tangles and more fish on the hook!
🎣 Step 2: Line Cup & Spool Setup for Perfect Casting (No More Bird’s Nests!)
A well-tuned line cup is the secret to effortless casting. Here’s how to set it up for jigging reels of any type:
-
Spool Direction: For baitcasting jigs, use a right-hand retrieve if you’re right-handed (opposite for lefties) to reduce hand strain.
-
Line Cup Adjustment: Loosen the cup screws slightly until the line sits flush without binding—too tight = tangles, too loose = erratic casts.
-
Leader Setup: Attach a 1–2ft fluorocarbon leader (for saltwater) or monofilament (freshwater) to your jig. The weight should match your reel’s max drag (start with 1/8oz for slow pitch, 1/4oz for saltwater jigging).
⚠️ Warning: Overfilling the spool? Leave ¼” of space between the line and rim—excess line leads to backlashes faster than you can say “fish on!”
🚀 Step 3: Casting Techniques That’ll Make You Look Like a Pro (Even If You’re Shaking!)
Casting isn’t about brute strength—it’s about finesse. Follow this 3-count rhythm for consistent results:
-
Pre-Cast Prep: Hold the rod at 10 o’clock, reel handle at 3 o’clock, and line cup finger justtouching the line.
-
Snap the Rod: Flick upward sharply (like cracking a whip) to load the rod—thenrelease the line with your thumb.
-
Follow Through: Let the reel’s brakes do the work; resist the urge to muscle the cast. For slow pitch reels, use a slower, pendulum-like motion to coax jigs to depth.
🎯 Target Practice: Start in an open field with a light jig (1/16oz) to get used to your reel’s “feel.” You’ll be amazed at how quickly muscle memory kicks in!
🧭 Choosing the Right Jigging Reel for Your Style
Not all jigging reels are created equal. Here’s a quick guide to narrowing down your options:
|
Reel Type |
Best For |
Key Features to Look For |
|---|---|---|
|
Slow Pitch Reels |
Precision finesse, structure fishing |
Low-profile design, adjustable ball bearings |
|
Baitcasting Jigs |
Dropshot, jigging for bass/trout |
Thumb bar, anti-reverse systems |
|
Saltwater Reels |
Offshore jigging, tough currents |
Corrosion-resistant finishes, heavy-duty drag |
🔍 Bonus Tip: Invest in a reel with at least 3+1 ball bearings—smoother operation means less fatigue during long days on the water.
📝 Final Checklist for Newbies
✅ Practice casting in a safe, open area first.
✅ Always check your reel’s drag before targeting big fish.
✅ Start with mid-sized jigs (1/4–3/8oz) to build confidence.
Mastering these three steps won’t just make you a better angler—it’ll turn every trip into an adventure. Remember, fishing is about enjoying the process, so don’t stress if your first casts are a bit wobbly. With time, your reel will feel like an extension of your arm!
Ready to share your jigging journey? Tag us in your photos—we love seeing new anglers succeed! 🎣✨


0 comments